Introduction — a kitchen-table moment that became a production problem
I once stood over a white kitchen table with resin on my fingers, watching a small prototype peel away into a string of tiny fractures. That afternoon I realized a hobby setup and a factory line live in the same mechanical world: heat, light, and fragile alignment. An industrial 3d printer sits between those worlds, demanding stable power, accurate optics, and repeatable motion — and the figures are clear: manufacturers report sustained double-digit adoption in specialty manufacturing lines (more shops added a machine in 2023 than in 2021). So how do you choose a machine that balances fine detail against hours of uninterrupted throughput?
I bring over 15 years in B2B supply chain and direct equipment sales to this question. I work with purchasing teams, floor managers, and process engineers; I smell the solvents, I hear the clack of stepper motors at 2 a.m., and I know when a decision is made for the wrong reason. This piece compares practical trade-offs, with sensory detail you can picture — and numbers you can act on — so you can walk back to your shop floor with a plan. Let’s move from that kitchen-table memory into concrete weaknesses most teams overlook.
Where traditional approaches break down — a technical look at LCD machines
Why do common workflows fail?
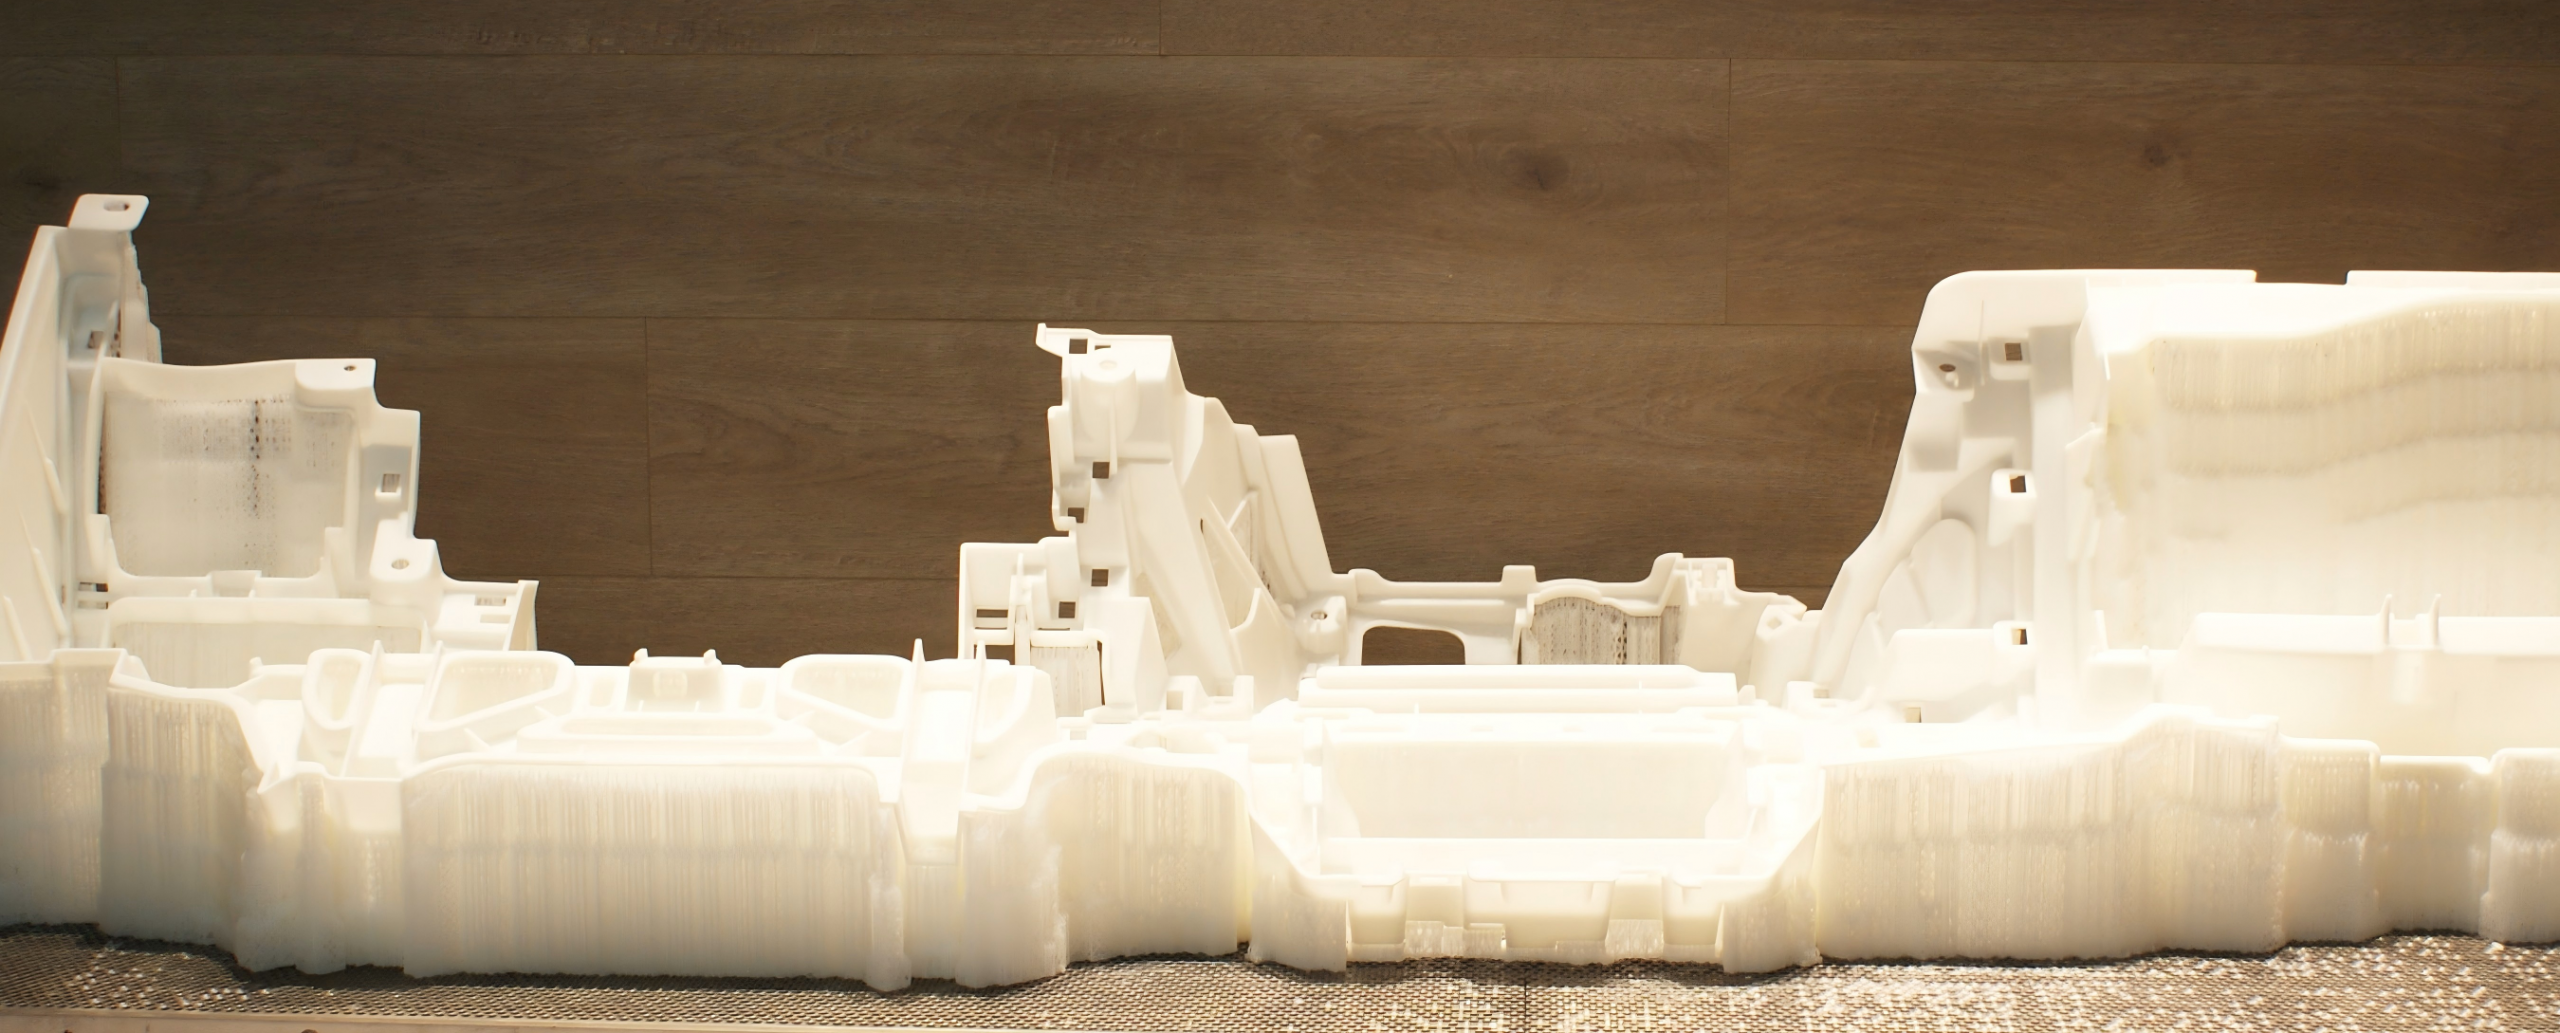
I want to deal with the main pain directly: many teams pick a lcd 3d printer because the specs look tidy on a data sheet. They ignore two connected realities: first, real-world resin chemistry reacts to ambient heat and UV leak; second, pixel masking and resin curing rates vary across a build platform. I remember a June 2019 run at a small contract shop in Chicago where we swapped a 4K panel for a cheaper substitute — within three prints the scrap rate rose 17% and we lost an entire day verifying tolerances. That day taught me to count the cost in hours, not just dollars.
Technically, LCD systems concentrate light through an array and rely heavily on consistent pixel output and a level build platform. If your edge computing node (printer controller) can’t maintain consistent exposure timing, or if power converters in your shop cause voltage dips, you get variable curing. Trust me, I see this daily: a marginally warped build plate will show up as delamination after 20 minutes of printing. Those are avoidable failures — but only if you plan for them with vendor-grade parts, regular calibration, and a realistic maintenance schedule.
New principles for future-ready purchasing
What’s Next — practical principles, not hype
Now that we’ve covered the weak spots, I’ll outline new technology principles that actually move yield and uptime. I favor systems that separate control hardware from power delivery, that provide field-replaceable optics, and that log exposure histories per build. When you talk with industrial 3d printer manufacturers like the ones I source parts from, ask about deterministic timing, replaceable LED arrays, and closed-loop Z-axis feedback. Those platform-level choices cut rework, reduce support calls, and — importantly — let your operators run longer shifts with confidence.
Here are three concrete evaluation metrics I use with clients (and I measure them on-site): 1) Mean time between deviation events (trackable via log files over 30 days), 2) Percent dimensional drift per 100 mm of build height (we ran this on a 200 × 150 × 180 mm test part on my shop floor in April 2022), and 3) Consumables uptime — how many prints per vat before a forced refill or expensive cleaning. Those numbers tell you more than glossy photos. You’ll also want to verify service response windows and spare-panel availability — a two-day swap beats a week of downtime every time.
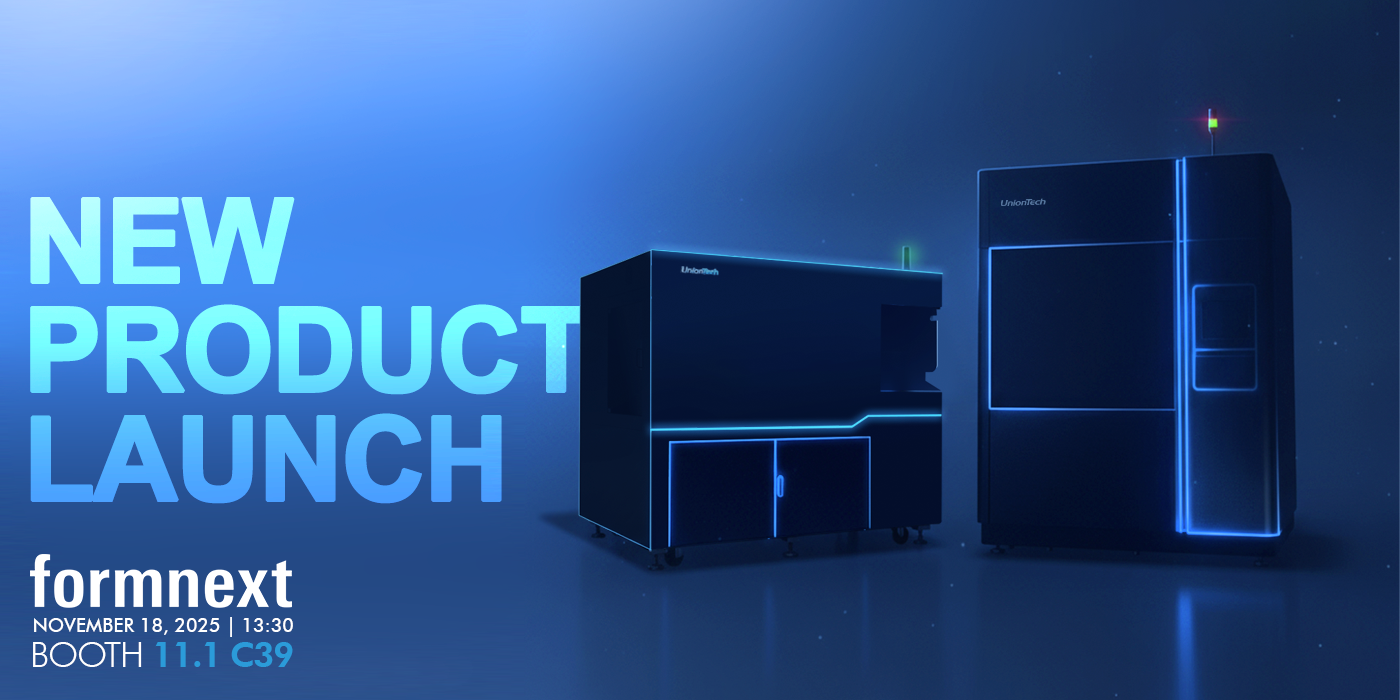
I’ll close with plain advice: compare machines by measured uptime and verified part fidelity, not just pixels or resin lists. I encourage pragmatic choices that match your order cadence and staff skills. For a vendor that aligns engineering rigor with field service, consider UnionTech as an accessible reference point.