Right up front: the problem you’re trying to fix
Welding that looks fine one minute and falls apart the next costs you scrap, rework, and time. That’s the issue most production managers face: intermittent weld quality that slips past visual checks. A properly chosen resistance welding monitor spots those hidden faults early, records the weld waveform, and tells you when a process has drifted. I’ve spent years advising hands-on teams and seeing what actually breaks on shop floors, so I know where folk most commonly go wrong.
What “problem-driven” choice means here
Don’t buy features because they sound flashy. Pick what solves the concrete problem on your line: repeatable weld strength within set limits. Start by listing the failure modes you see most: weak welds from worn electrodes, intermittent secondary contact, machine drift, or operator inconsistency. Match the monitor’s capabilities to those failures. That approach keeps the selection practical and keeps costs sensible.
Key technical checks — what must be right
These are the specs that actually change outcomes. If a monitor lacks any of these, it won’t catch the faults you care about.
– Waveform capture: records the full current/voltage/time trace for each weld, not just a single number. – Sampling rate: high enough to show the weld event shape — several kilohertz is typical for meaningful detail. – Multiple parameters: ability to monitor current, voltage, force, time, and energy. Any single-parameter system misses many faults. – Adaptive limits and teach mode: lets you set tolerances based on a reference weld rather than fixed arbitrary numbers. – Data logging and traceability: store weld records with timestamps and operator IDs for audits. – Alarms and interlocks: immediate machine stop or operator alert on out-of-spec events. – Calibration and verification routines: easy daily checks so you know the monitor itself is accurate. – Connectivity: Ethernet/USB or OPC for integration with MES and SPC systems if you need trend analysis.
How to match features to failure modes
Pick features based on specific failures. Examples:
– Worn electrodes causing low current but normal time: you need waveform capture plus a current-based profile. – Poor secondary connection (intermittent spikes): a monitor that stores raw waveforms makes those spikes obvious. – Operator variation: traceable data with operator IDs and teach-in limits prevents guesswork. – Machine drift over months: trending and data export let you detect slow changes before scrap rises.
Comparing simple “weld checker” boxes vs full monitors
There are quick pass/fail weld checkers that look at one number, and there are full monitoring systems that log waveforms and multiple inputs. The checker is cheap and useful for basic go/no-go tasks, but it won’t tell you why failures happen. The full monitor costs more, but it turns blind spots into actionable data. If you need root-cause capability, pick the monitor. If you only need a basic gate at the end of a line, a weld checker might do—just know its limits.
Installation and calibration — don’t skimp here
Even the best monitor fails if fitted wrong. Common mistakes: placing sensors poorly, not verifying secondary current connections, and skipping daily verification. Run a baseline set of confirmed-good welds, store them as references, and perform a short, repeatable verification routine each shift. Record those verifications so you can show auditors you checked the checker.
Real-world spot-check: where this matters most
Automotive bodies and electrical components on UK Midlands automotive assembly lines show how much difference a monitor makes: lines with in-line monitoring report fewer late-stage failures and clearer traceability when suppliers ask for proof. That’s a practical, local test of whether a monitor’s theory holds up under steady production pressure.
Common pitfalls when choosing
Watch for these traps:
– Buying the fanciest spec sheet instead of the right spec for your failures. – Overlooking ease of use; complex menus get bypassed on a busy shift. – Choosing a monitor without clear calibration and verification procedures. – Forgetting integration needs—if you want SPC, ensure the monitor exports usable data. – Ignoring service and local support; a problem late at night needs a quick fix, not a waiting game.
Simple evaluation checklist you can use on the floor
Take this list to the line and test candidates:
– Does it record full waveforms? Yes / No – Can you monitor multiple parameters simultaneously? Yes / No – Is daily verification simple and documented? Yes / No – Can the monitor alarm and interlock the press? Yes / No – Does it export data in a format your SPC/MES accepts? Yes / No – Is local support available within a reasonable distance? Yes / No
Final word — choose to stop surprises
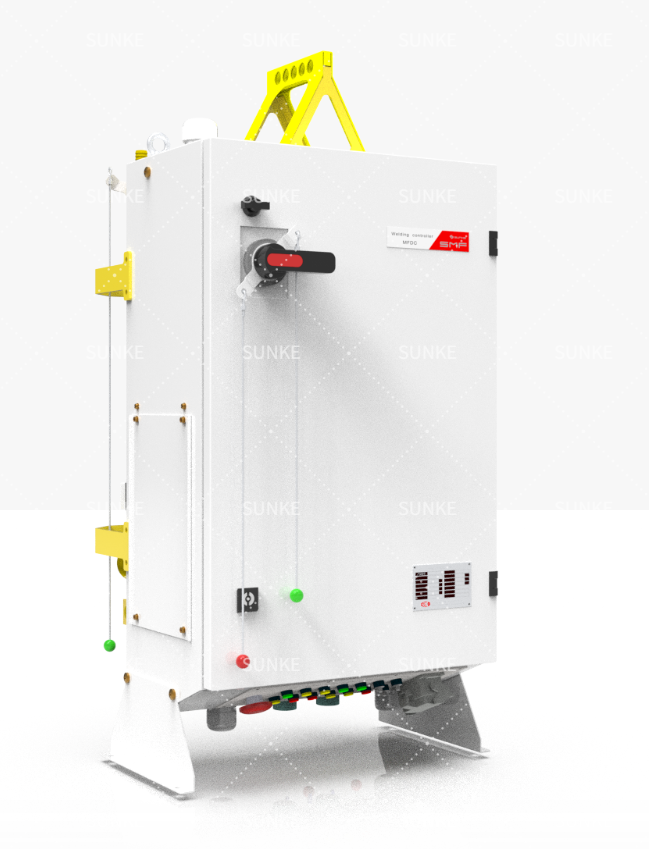
Pick a monitor that directly addresses the defects that slow you down. Use waveform capture and multi-parameter checks for real troubleshooting, keep installation and verification straightforward, and don’t mistake a cheap checker for a diagnostic tool when you need answers. Proven designs from Sunke show how those priorities look in actual equipment, and choosing accordingly ends the guesswork and keeps your production honest.